Most players feel the difference between clay, grass, and hard courts, but very few actually know how to *systematically* adapt to each surface. The result? They blame “bad bounces” or “wrong shoes” instead of building a surface‑smart game that actually wins matches.
—
Understanding How Court Surfaces Change the Game
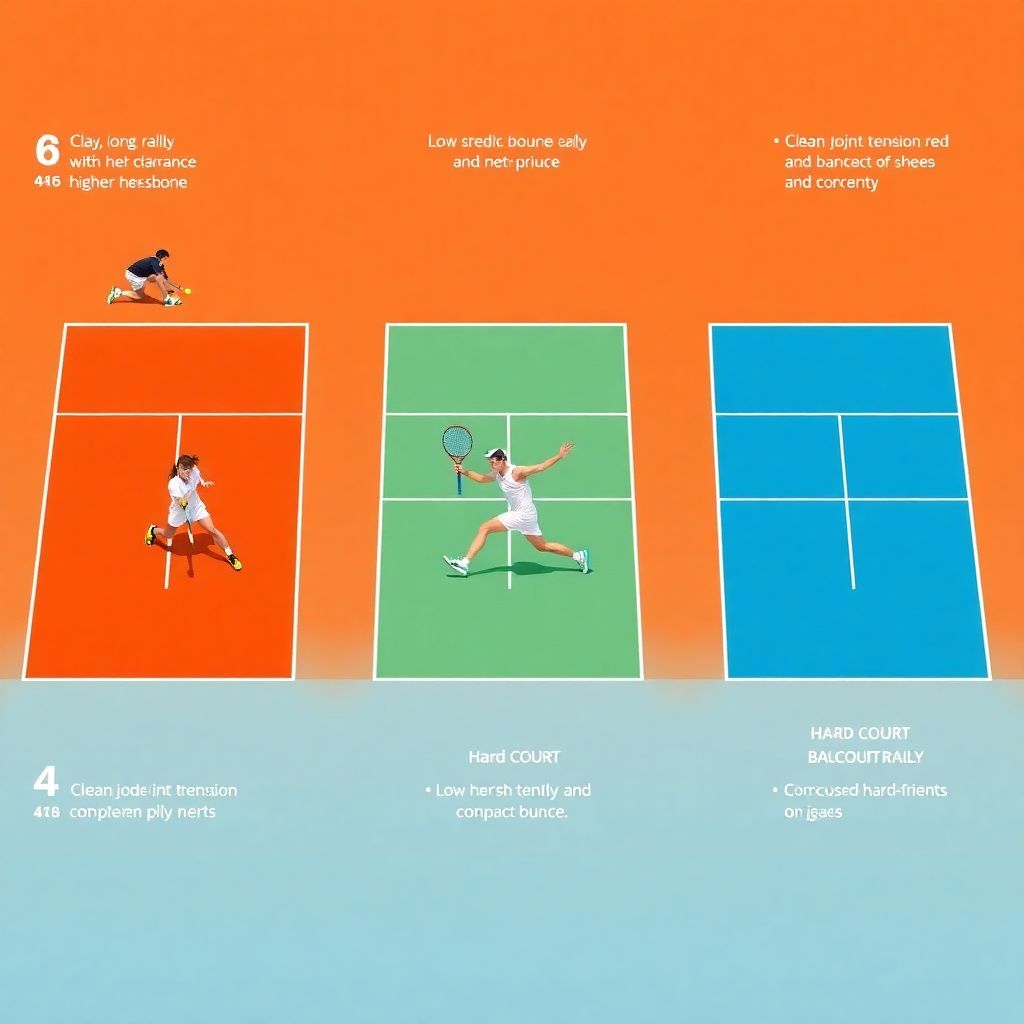
Think of each court surface as a different “operating system” for your tennis. The rules stay the same, but the way the ball moves, how your body loads and pushes off the ground, even how quickly you get tired — all of that shifts.
On clay, the ball grips, slows down, and kicks up higher. Points last longer, defending is easier, and sliding is part of normal footwork. Grass is almost the opposite: the ball skids low and fast, serves become weapons, and short, explosive points dominate. Hard courts sit in the middle, but they punish your joints more and reward clean technique and precise timing.
A performance coach I know worked with a strong junior who crushed everyone on indoor hard courts, then lost early at every clay event. Video showed the same pattern: taking the ball too early, aiming too close to the lines, and refusing to add height and spin. Once they deliberately raised net clearance and stood a step farther back on returns, he went from first‑round exits to a clay‑court title in six weeks. The surface hadn’t changed — his understanding of it had.
—
Tools You Need to Adapt to Any Surface
You don’t need a truck full of gear, but you *do* need the right basic tools to handle different courts and protect your body.
Longer explanation first:
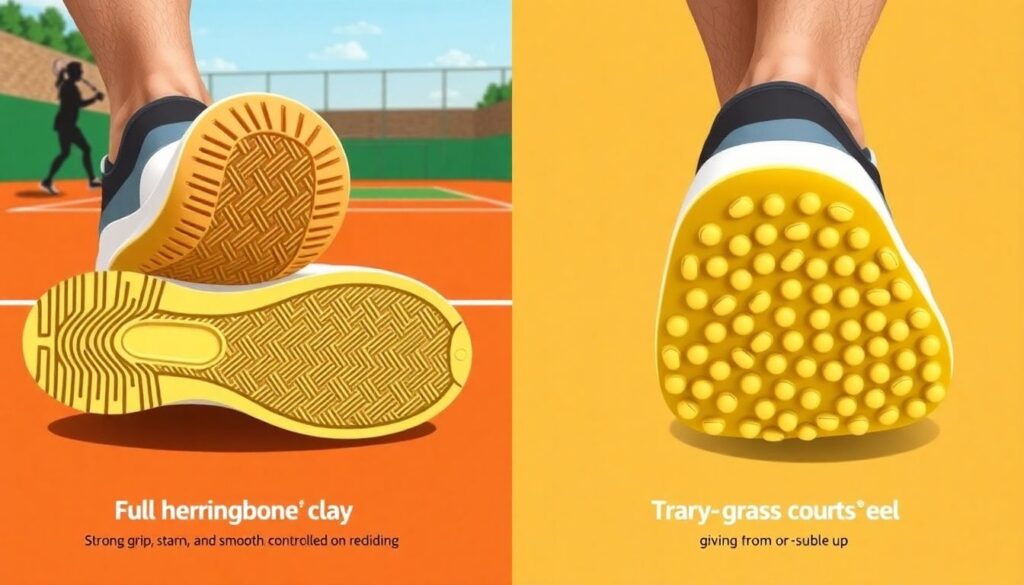
– Shoes matched to the surface
– Clay: a full herringbone sole for grip + predictable sliding.
– Grass: small pimples/studs for bite without tearing the turf.
– Hard: more cushioning and durable outsole.
The whole debate around *hard court vs clay court tennis shoes* exists for a reason: using the wrong pair means slipping, excessive braking, and extra stress on knees and ankles.
– Racquet setup
On clay, many players bump up spin (thinner strings, slightly lower tension) to get the ball jumping. On grass, you can flatten out more and profit from speed, so a bit higher tension often helps control. Hard courts are unforgiving: a comfortable, arm‑friendly setup is non‑negotiable, especially if you train often.
– Support gear
– Ankle braces or kinesio tape if you’re prone to rolling your ankles on grass.
– Compression sleeves or orthotics if hard courts irritate your joints.
– Towels, hats, and extra grips — clay and heat chew through grips faster than most people expect.
Short case to ground it:
One adult league player I worked with had constant knee pain on hard courts and was considering quitting competitive tennis. He played in generic running shoes, with tight poly strings and a stiff frame. After switching to proper hard‑court shoes, adding a cushioned replacement grip, and softening the string setup, he kept his same level but cut post‑match knee pain by about 70% in a month.
—
Picking and Building the Right Court Surface
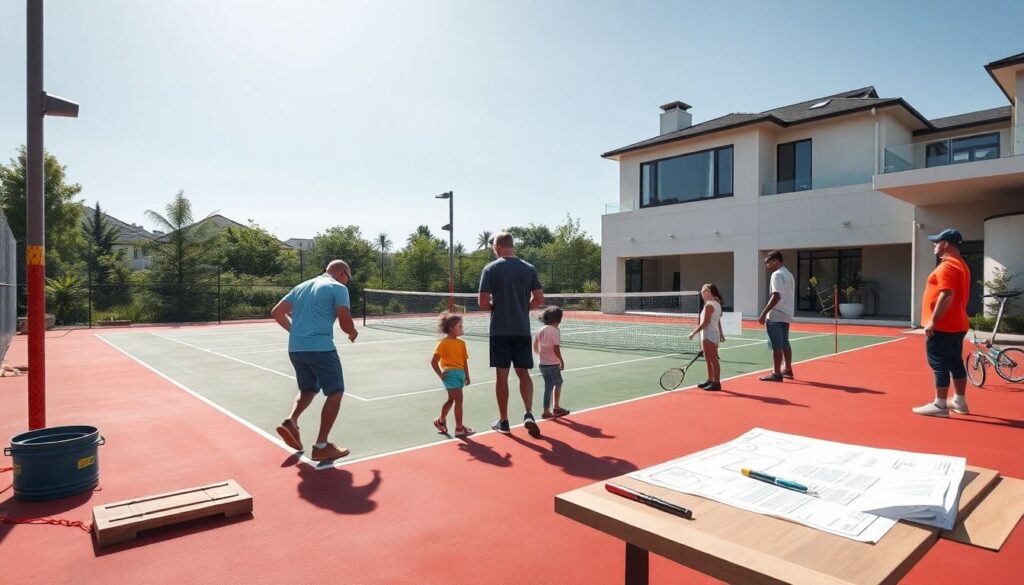
If you’re lucky enough to be planning your own court, you’re not just picking “what looks nice.” You’re choosing how you, your kids, and your training partners will move and develop over years. This is where practical issues like tennis court construction cost collide with performance questions.
Longer, more detailed breakdown:
– Clay courts
– Pros: Joint‑friendly, great for developing patience, spin, and point construction.
– Cons: High maintenance; you need sweeping, watering, and regular work.
– Performance angle: Ideal if you want long rallies and endurance‑based tennis.
– Grass courts
– Pros: Classic look, very fast, excellent for serve‑and‑volley or aggressive styles.
– Cons: Short playing season in many climates, demanding maintenance (mowing, rolling, drainage).
– Performance angle: Encourages attacking play, low contact points, and quick reactions.
– Hard courts
– Pros: Playable year‑round in most climates, relatively lower maintenance, familiar feel (most public courts are hard).
– Cons: Tougher on joints, especially with heavy schedules.
– Performance angle: Great “baseline” for all‑court games; rewards solid technique and fitness.
From a builder’s perspective, the best surface for tennis court clay vs grass vs hard isn’t a universal answer. It depends on climate, budget, and how much care you’re willing to put in. Many homeowners asking for *backyard tennis court installation near me* end up with a cushioned hard court: it keeps maintenance manageable while softening the impact.
If your court already exists but feels dead, cracked, or dangerously slippery, tennis court resurfacing services can change the playing feel more than most people expect. I’ve seen an aging concrete hard court turned into a cushioned acrylic surface that extended the usable playing life for a 60+ group by several years simply by reducing joint shock.
Short punchline: the “right” surface is the one that balances how you *want* to play with how much you’re ready to spend and maintain.
—
Step‑by‑Step: Adjusting Your Game to Clay, Grass, and Hard Courts
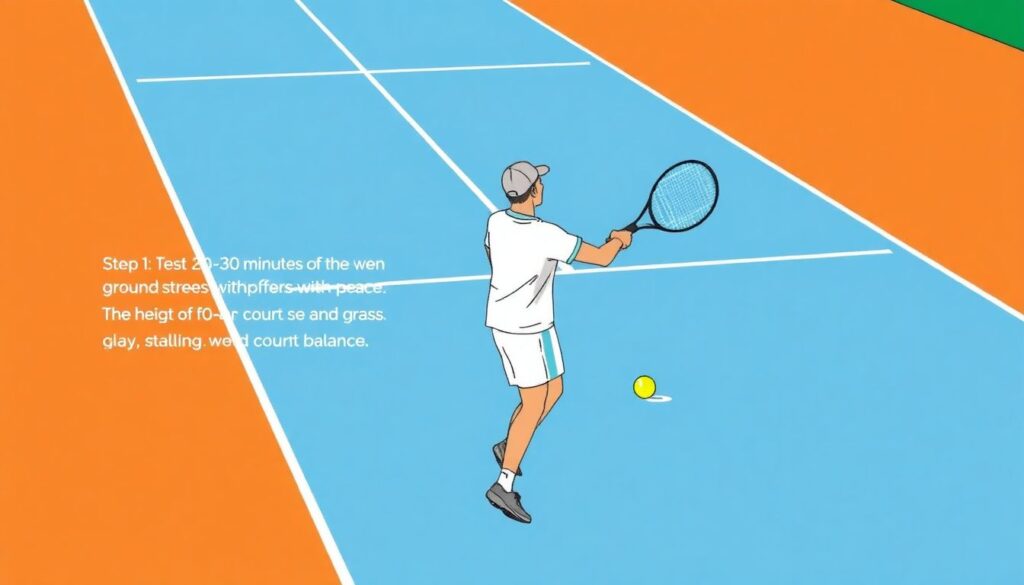
Here’s a simple, practical process you can follow every time you switch surfaces. Think of it as a checklist you run through in the first 20–30 minutes on court.
Step 1: Test the bounce and footing
– Hit 20–30 groundstrokes cross‑court with medium pace.
– Notice: height of bounce, how far the ball travels, and whether it skids or sits up.
– Do a few controlled sprints and stops to feel how your shoes interact with the court.
Short note: Don’t rush this. These first five minutes tell you what the court “wants” from you.
Step 2: Adjust contact point and stance
Longer adjustment details:
– On clay:
– Stand a half‑step farther back to allow the higher, slower bounce to rise.
– Accept more semi‑open and open stances, especially when sliding wide.
– Add net clearance: aim a ball or two higher over the net.
– On grass:
– Move in slightly; be ready to take the ball earlier before it stays low.
– Bend your knees more aggressively to get under the ball.
– Shorten your backswings to handle skidding, fast returns.
– On hard courts:
– Find a neutral middle distance from the baseline; adjust based on opponent’s pace.
– Keep your stance consistent and work on clean, well‑timed planting to protect joints.
Quick case: A high‑school player kept dumping backhands in the net on grass after a season on clay. Video showed the same “clay” swing path with lots of upward lift, but her contact point was too late and too low. We moved her a step closer to the baseline, shortened the backswing, and focused on meeting the ball in front. Within one session, her backhand consistency jumped from roughly 50% in to over 80%.
Step 3: Tune your tactics
– On clay: build points, use heavy spin, and attack short balls rather than trying to hit constant winners.
– On grass: prioritize first‑serve percentage and aggressive returns; look for chances to finish at the net.
– On hard: mix height, spin, and direction; it’s the best surface for playing patterns and testing opponents’ weaker wings.
Short reminder: Write down one tactical focus per surface (e.g., “higher margins on clay,” “take returns early on grass”). Keep it simple.
Step 4: Adapt your serve and return
Longer explanation:
– Clay: Add kick serves and use wide serves to open the court, since the ball jumps up and away.
– Grass: Aim for body serves and flat serves; the skid makes them very hard to handle.
– Hard: Work on variety — pace, spin, and location — because the surface won’t hide poor placement.
Returns follow the same logic: deeper, higher returns on clay; early, compact swings on grass; balanced aggression on hard.
—
Troubleshooting Common Problems on Each Surface
You’ll run into repeating issues. Instead of getting frustrated, treat them as technical signals. Here’s how to decode and fix them.
Short preface: If something feels “off,” start with balance and footwork before messing with your entire stroke technique.
On clay
Longer problem–solution patterns:
– Problem: You feel slow, constantly late, and the ball flies long.
– Likely cause: You’re trying to play hard‑court pace on a slower surface.
– Fix: Add a little more topspin, give yourself more space behind the baseline, and aim bigger targets inside the lines.
– Problem: You’re afraid to slide and over‑braking on every wide ball.
– Likely cause: Wrong shoes or no sliding practice.
– Fix: Check that you’re actually using clay‑specific soles; practice small, controlled “mini‑slides” without hitting balls until your body trusts the friction.
Case: A competitive 40+ player kept pulling groin muscles on clay. He never allowed his outside foot to slide; he was stopping dead with a huge load on his adductors. After we drilled safe sliding in a low‑intensity setting (no balls), his injury rate dropped dramatically.
On grass
Short bullet issues and solutions:
– Problem: Balls stay too low and you’re constantly late.
– Fix: Lower your ready position, shorten the backswing, and stand a step closer to the baseline.
– Problem: You slip on direction changes.
– Fix: Check your grass‑court shoes; avoid sudden pivots and instead use more small adjustment steps and controlled deceleration.
– Problem: Your heavy topspin forehand doesn’t bite.
– Fix: Flatten out a bit and aim for aggressive, lower trajectories that take advantage of the skid.
Real‑life style note: Many baseline grinders hate grass at first. Once they accept that they must step inside the court and finish points faster (especially with serves and returns), they often discover new weapons they didn’t know they had.
On hard courts
Longer, more detailed troubleshooting:
– Problem: Joint pain (knees, hips, lower back) after sessions.
– Likely cause: Overuse plus poor cushioning and landing mechanics.
– Fix:
– Use proper hard‑court shoes with good midsole support.
– Shorten practice blocks, add active recovery, and incorporate strength training for legs and core.
– Consider a slightly softer string setup to reduce vibration.
– Problem: Your “safe” clay‑style looping shots sit up to be attacked.
– Fix: Drive through the court more; aim deeper and lower, adding pace and flattening your contact slightly.
Short rule of thumb: On hard, protect your body first, then refine your ball‑striking.
—
Practical Checklists for Each Surface
Use these quick lists as pre‑session reminders. Stick them in your phone notes and glance at them before you walk on court.
Clay checklist
– Switch to clay‑appropriate shoes.
– Warm up with higher net clearance and more spin.
– Stand a half‑step back on returns at first.
– Expect longer rallies; manage your energy and breathing.
Grass checklist
– Lower your center of gravity from the first point.
– Take shorter backswings on returns and passing shots.
– Practice serving wide and following to the net at least sometimes.
– Accept some bad bounces — stay relaxed in your grip.
Hard‑court checklist
– Double‑check shoe cushioning and lacing.
– Warm up joints thoroughly (hips, knees, ankles).
– Prioritize depth and direction over extreme spin.
– Schedule proper cool‑down; don’t just walk off and sit.
Short suggestion: After a few weeks of using these, you’ll find you naturally adjust faster every time you change surfaces.
—
Mastering clay, grass, and hard courts isn’t mysterious — it’s a mix of using the right tools, following a clear adjustment process, and troubleshooting with logic instead of emotion. Study how the ball bounces, listen to what your body is telling you, and treat each surface as a different “language” you’re learning to speak fluently. That’s how you turn surface changes from an excuse into a built‑in competitive advantage.